Shards of Order Full Demo Walkthrough
Clear the demo dungeon in ~45 minutes — routing, gear priorities, and fight-by-fight advice.
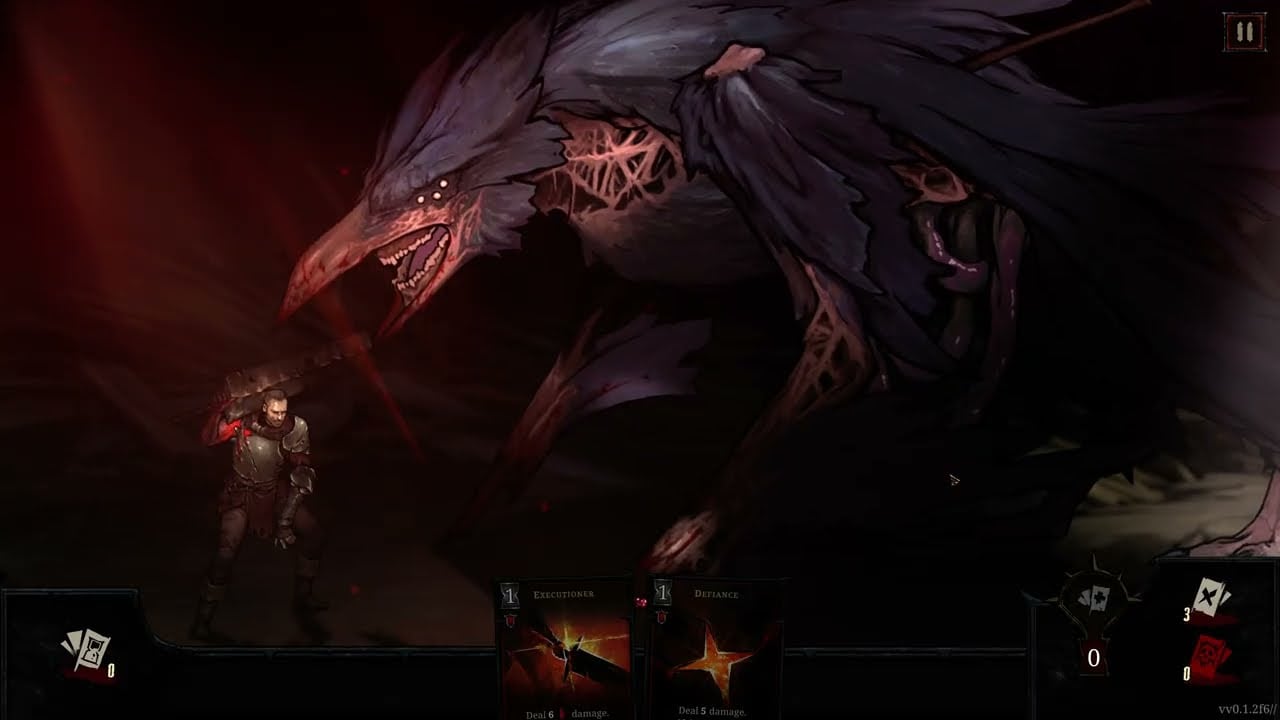
This walkthrough covers the complete Shards of Order demo: one dungeon, three heroes, nine encounters (including two bosses and one miniboss), twelve enemy types, and roughly forty-five minutes from first node to credits. It assumes Steam PC (demo app 3672010) and pairs with the Demo Map guide for spatial layout, the Combat System guide for time-counter tactics, and Boss Guide for phase specifics.
Shards of Order is a persistent RPG — not a roguelite. If a fight goes badly, you keep map progress and can revisit nodes for gear or safer rematches. Use that freedom; it is core design, not cheating.
Pre-run setup
Before entering the dungeon:
- Complete the tutorial prompts if present on first launch.
- Read Getting Started for party overview.
- Skim Controls so movement (one time per move) feels automatic.
- Choose your demo party: Soldier, Scholar, Exile — all can finish; see Tier List for leanings.
Your shared deck starts at forty-two cards before gear injections. Plan injections using Deckbuilding and track options in Items and Cards.
Early dungeon: learning the time economy
First encounters — typically trash packs teaching countdown reading. Priorities:
- Play three low-time cards before paying for a draw.
- Move only when adjacency matters — movement costs one time.
- Note which enemies accelerate countdowns when damaged.
Do not chase perfect clears early. Learn which cards each hero contributes to the shared pile. Scholar players should deliberately trigger ally damage to charge three mana types before spending finishers.
First gear nodes — the demo includes five armors and four amulets. Grab any injection that adds defensive or draw-smoothing cards first; raw damage can wait until you understand boss telegraphs. If two paths diverge, consult Demo Map for recommended first-run routing.
Mid dungeon: miniboss and attrition
The demo includes one miniboss among nine total encounters. Before entering:
- Confirm at least one revive-adjacent or defensive injected card if prior fights caused knockouts.
- Review miniboss patterns in the Boss Guide.
- Save high-time finishers for post-countdown stabilization, not opening turns.
Knockout management: Crippled heroes remain in party with increased revive card costs. If two heroes are crippled, consider backtracking to a safer node rather than pushing forward — permadeath wipes do not exist, but snowballing revive taxes lose runs silently.
Rest or resource nodes — if the map offers recovery or gear swap opportunities, use them. Persistent progression rewards patience over speedrunning.
Encounter cadence across twelve enemy types
Twelve enemy types appear across nine encounters. You will not see every type every run if routes branch, but expect:
- Swarm fights favor area time efficiency.
- Elite fights demand countdown priority over damage greed.
- Ranged or arrow-check fights stress Exile slot management.
When a new enemy appears, spend one fight observing countdown lengths before committing finisher cards. Log tricky types on your mental list for revisits.
Boss approach: two demo bosses
Two boss encounters cap the demo’s difficulty spikes. Shared preparation:
- Enter with a free-draw-friendly opener sequence practiced on trash.
- Equip armor/amulet injections that answer each boss’s primary pressure — details in Boss Guide.
- Keep one hero healthy to avoid simultaneous crippled states.
- Accept map revisits if first attempt reveals a gear gap.
Boss fights synchronize with the game’s God mischief theme and foreshadow law restoration mechanics expanded in Laws and Fracture. Narrative beats are optional for mechanical clears but enrich routing choices.
Post-clear experimentation
After credits:
- Re-run with a different hero focus using Builds.
- Test gear combinations in the Deck Calculator.
- Read the Review guide to compare your experience with broader impressions.
Full release is now live on Steam PC since July 28, 2026 — track Post-Launch and Purged Village Walkthrough for campaign routing beyond the demo.
Speed versus safety routing
Safe route: Clear all gear nodes, revisit once before miniboss, enter bosses with defensive injections.
Speed route: Minimal backtracking, rely on three-card draw mastery from Combat System, acceptable for repeat players.
Completionist route: Fight every encounter type, document injections for wiki cross-check, compare notes on Wiki lore pages.
Walkthrough checklist
- Tutorial and controls confirmed
- First gear pickup prioritizes shared deck utility
- Three-card draw habit established
- Miniboss patterns reviewed
- No double-cripple before bosses
- Boss guide consulted per encounter
- Optional revisit if revive costs escalated
Where to go next
Optimize gear on Items and Cards, refine party comps on Builds, and explore meta rankings on the Tier List. The Guides hub links every sibling page if you need a different topic mid-run.
Frequently Asked Questions
Quick answers to the most common questions.
How long is the Shards of Order demo?
Expect about forty-five minutes for a first clear, more if you revisit nodes for gear or recovery.
How many bosses are in the demo?
Nine encounters include two bosses and one miniboss across one dungeon.
Can I backtrack during the demo?
Yes. The branching node map is revisitable and progress persists without a roguelite wipe.
What if I wipe to a boss?
Adjust gear injections, revisit earlier nodes, and re-attempt. Knockouts cripple heroes but do not delete saves.
Which guide covers map layout?
See the Demo Map guide for node routing and revisit paths.
Is the demo representative of the full game?
It teaches core combat and deck systems; law restoration and Fracture depth expand beyond the demo slice.